Elk Pi Hardware#
Get Started with the Elk Pi Hardware.
This document contains basic information on how to set up Elk Pi development boards.
Each board ships with 4 short spacers, 4 long spacers, the optional bottom plate and screws.
Assembly#
We have created a brief time-lapse video of the assembly process you may want to refer to, illustrating the steps below.
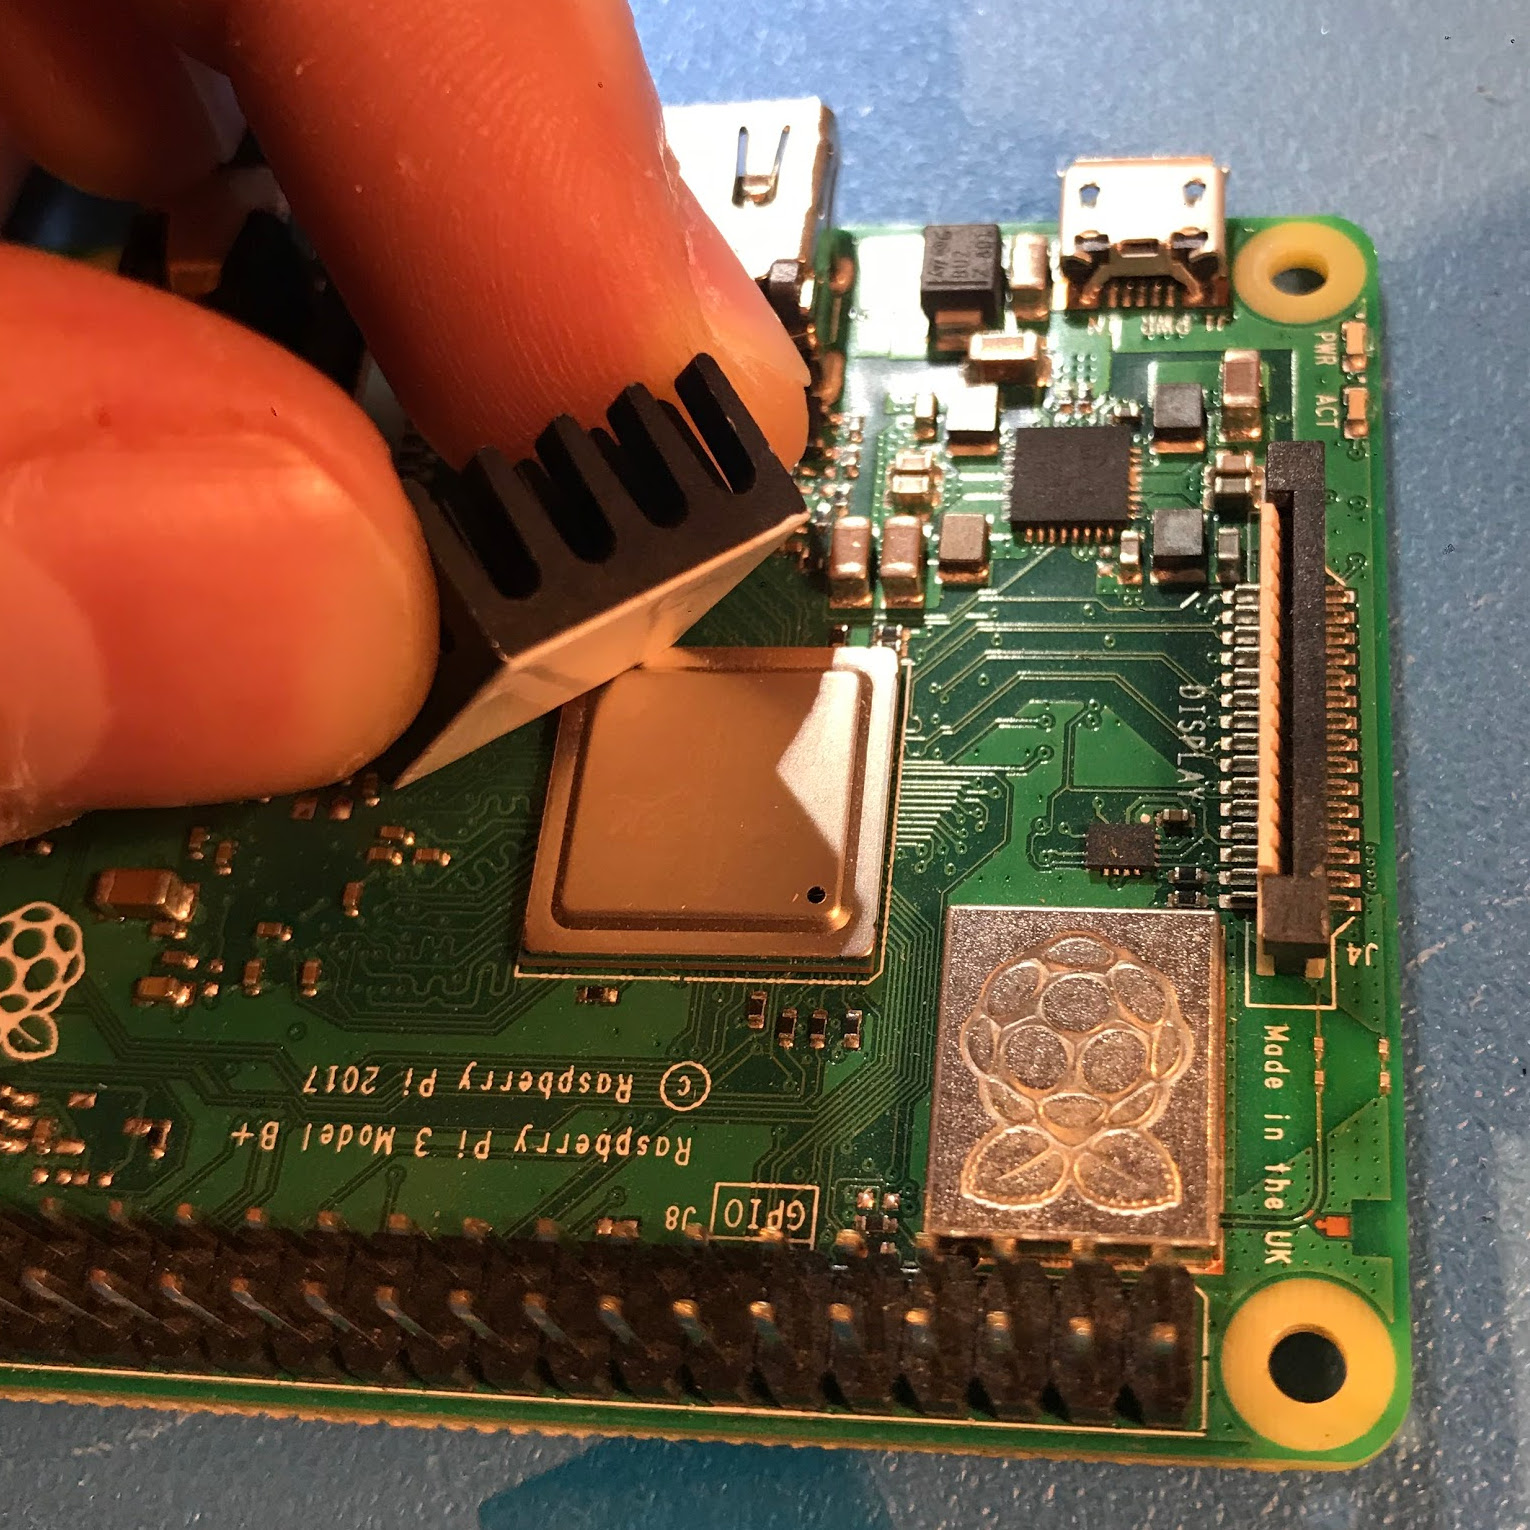
While we do not provide a heat sink for your RPi, we do recommend that you use one, at the very least for the CPU. Attach heat sink(s) first, by peeling off the blue protective film from the bottom and applying it on top of the Raspberry Pi CPU, along with eventual additional heat sinks for network and Bluetooth chips.
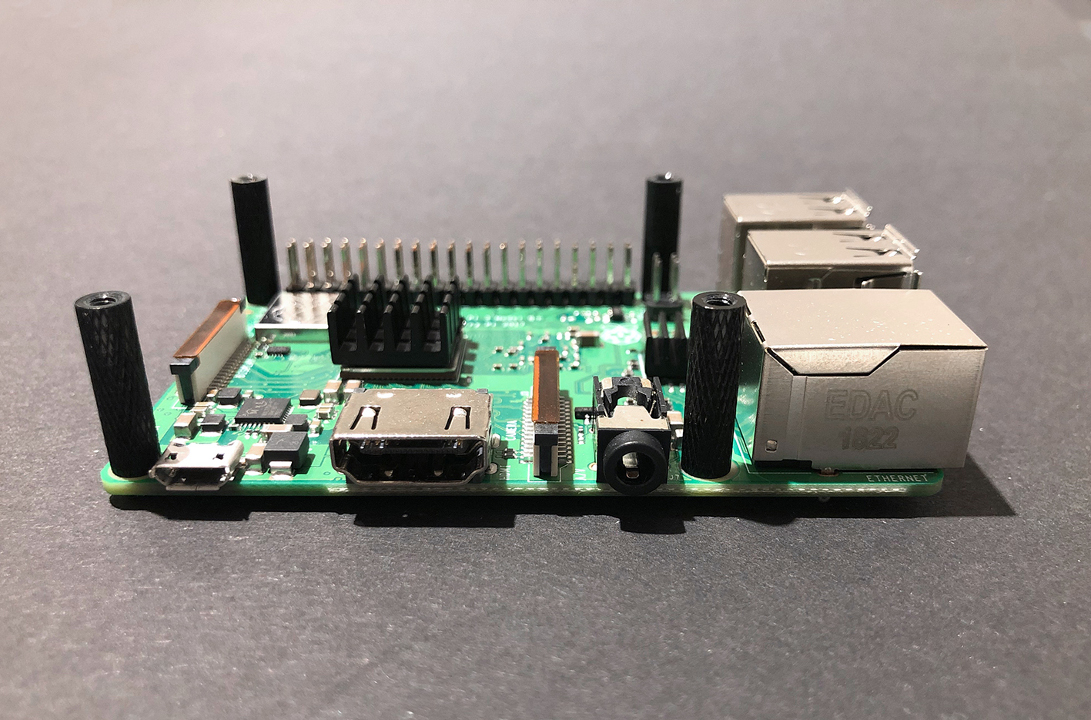
Mount the four short spacers onto the Raspberry Pi using the included screws:
Plug the Hat on top of the Raspberry Pi:
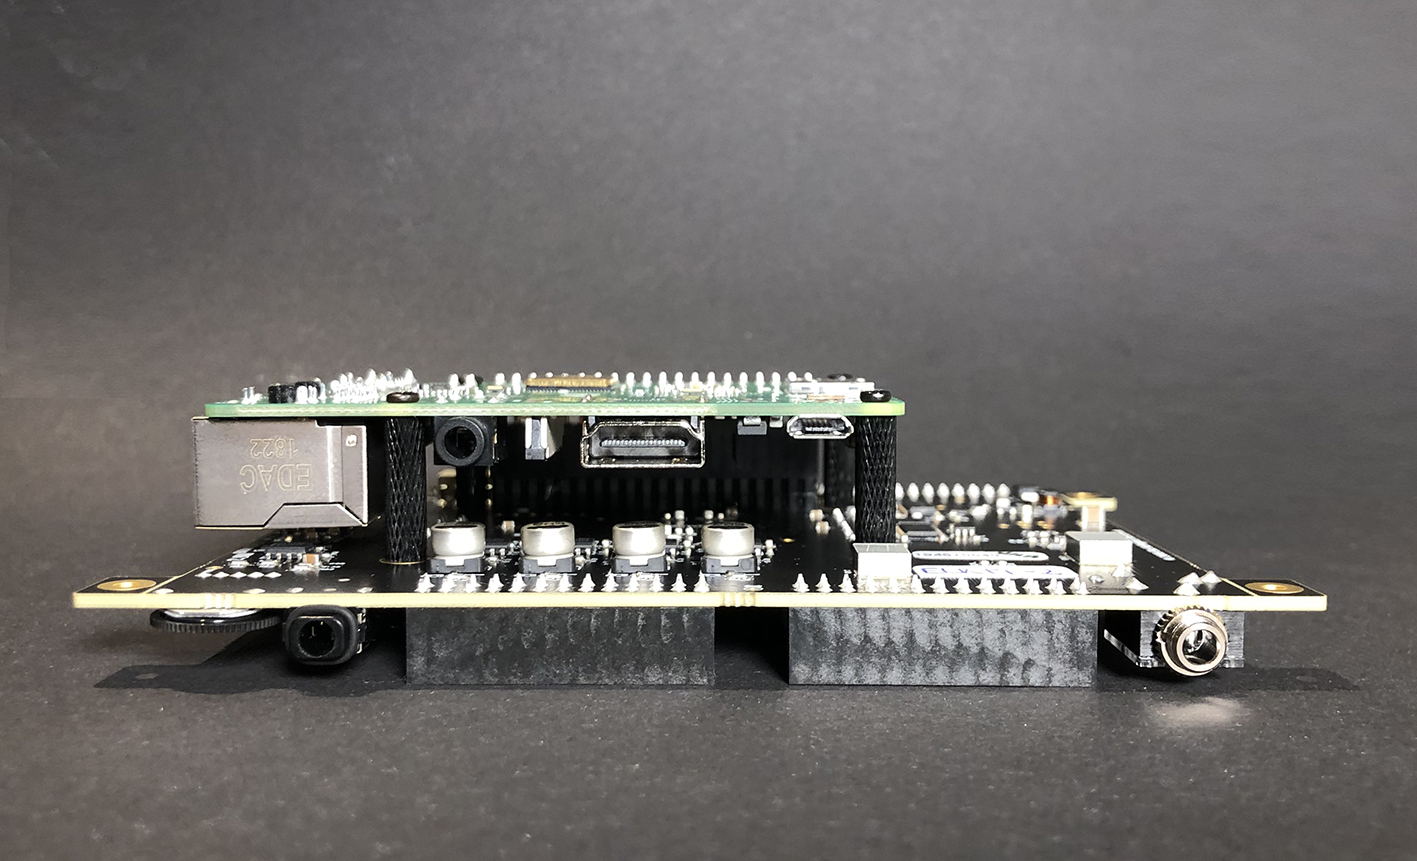
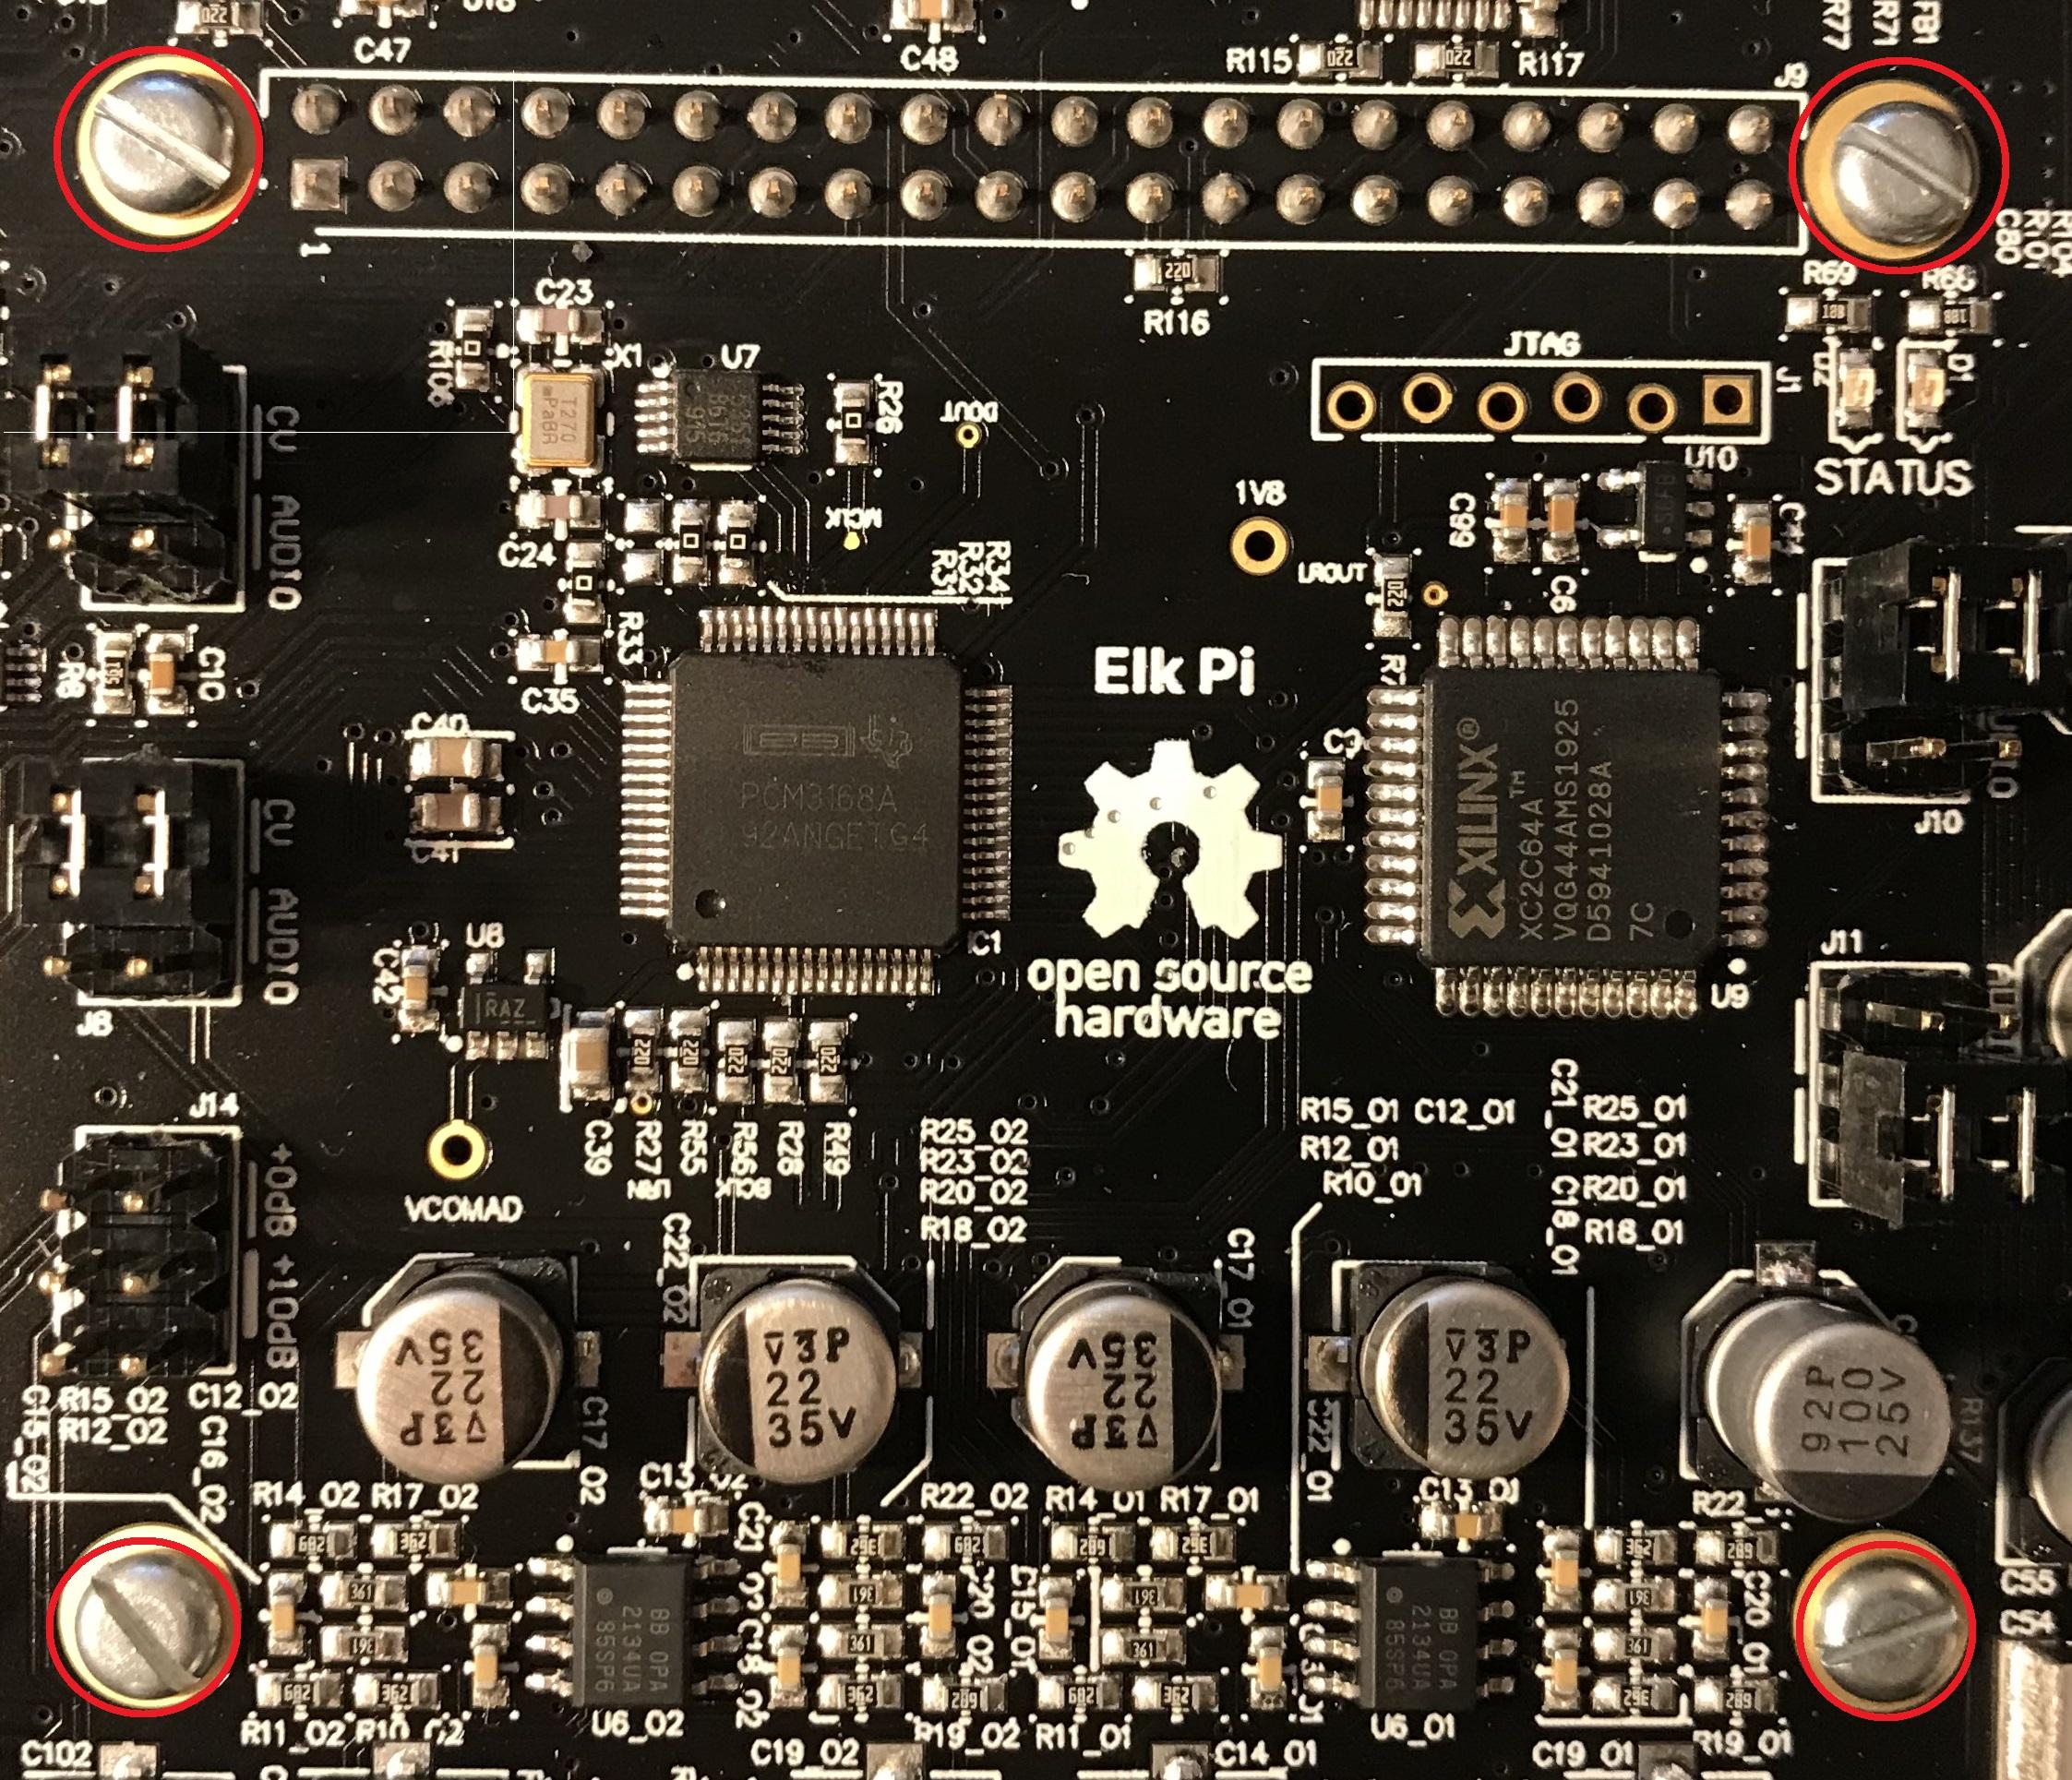
Add another four of the included screws to the holes illustrated below, if you want extra stability:
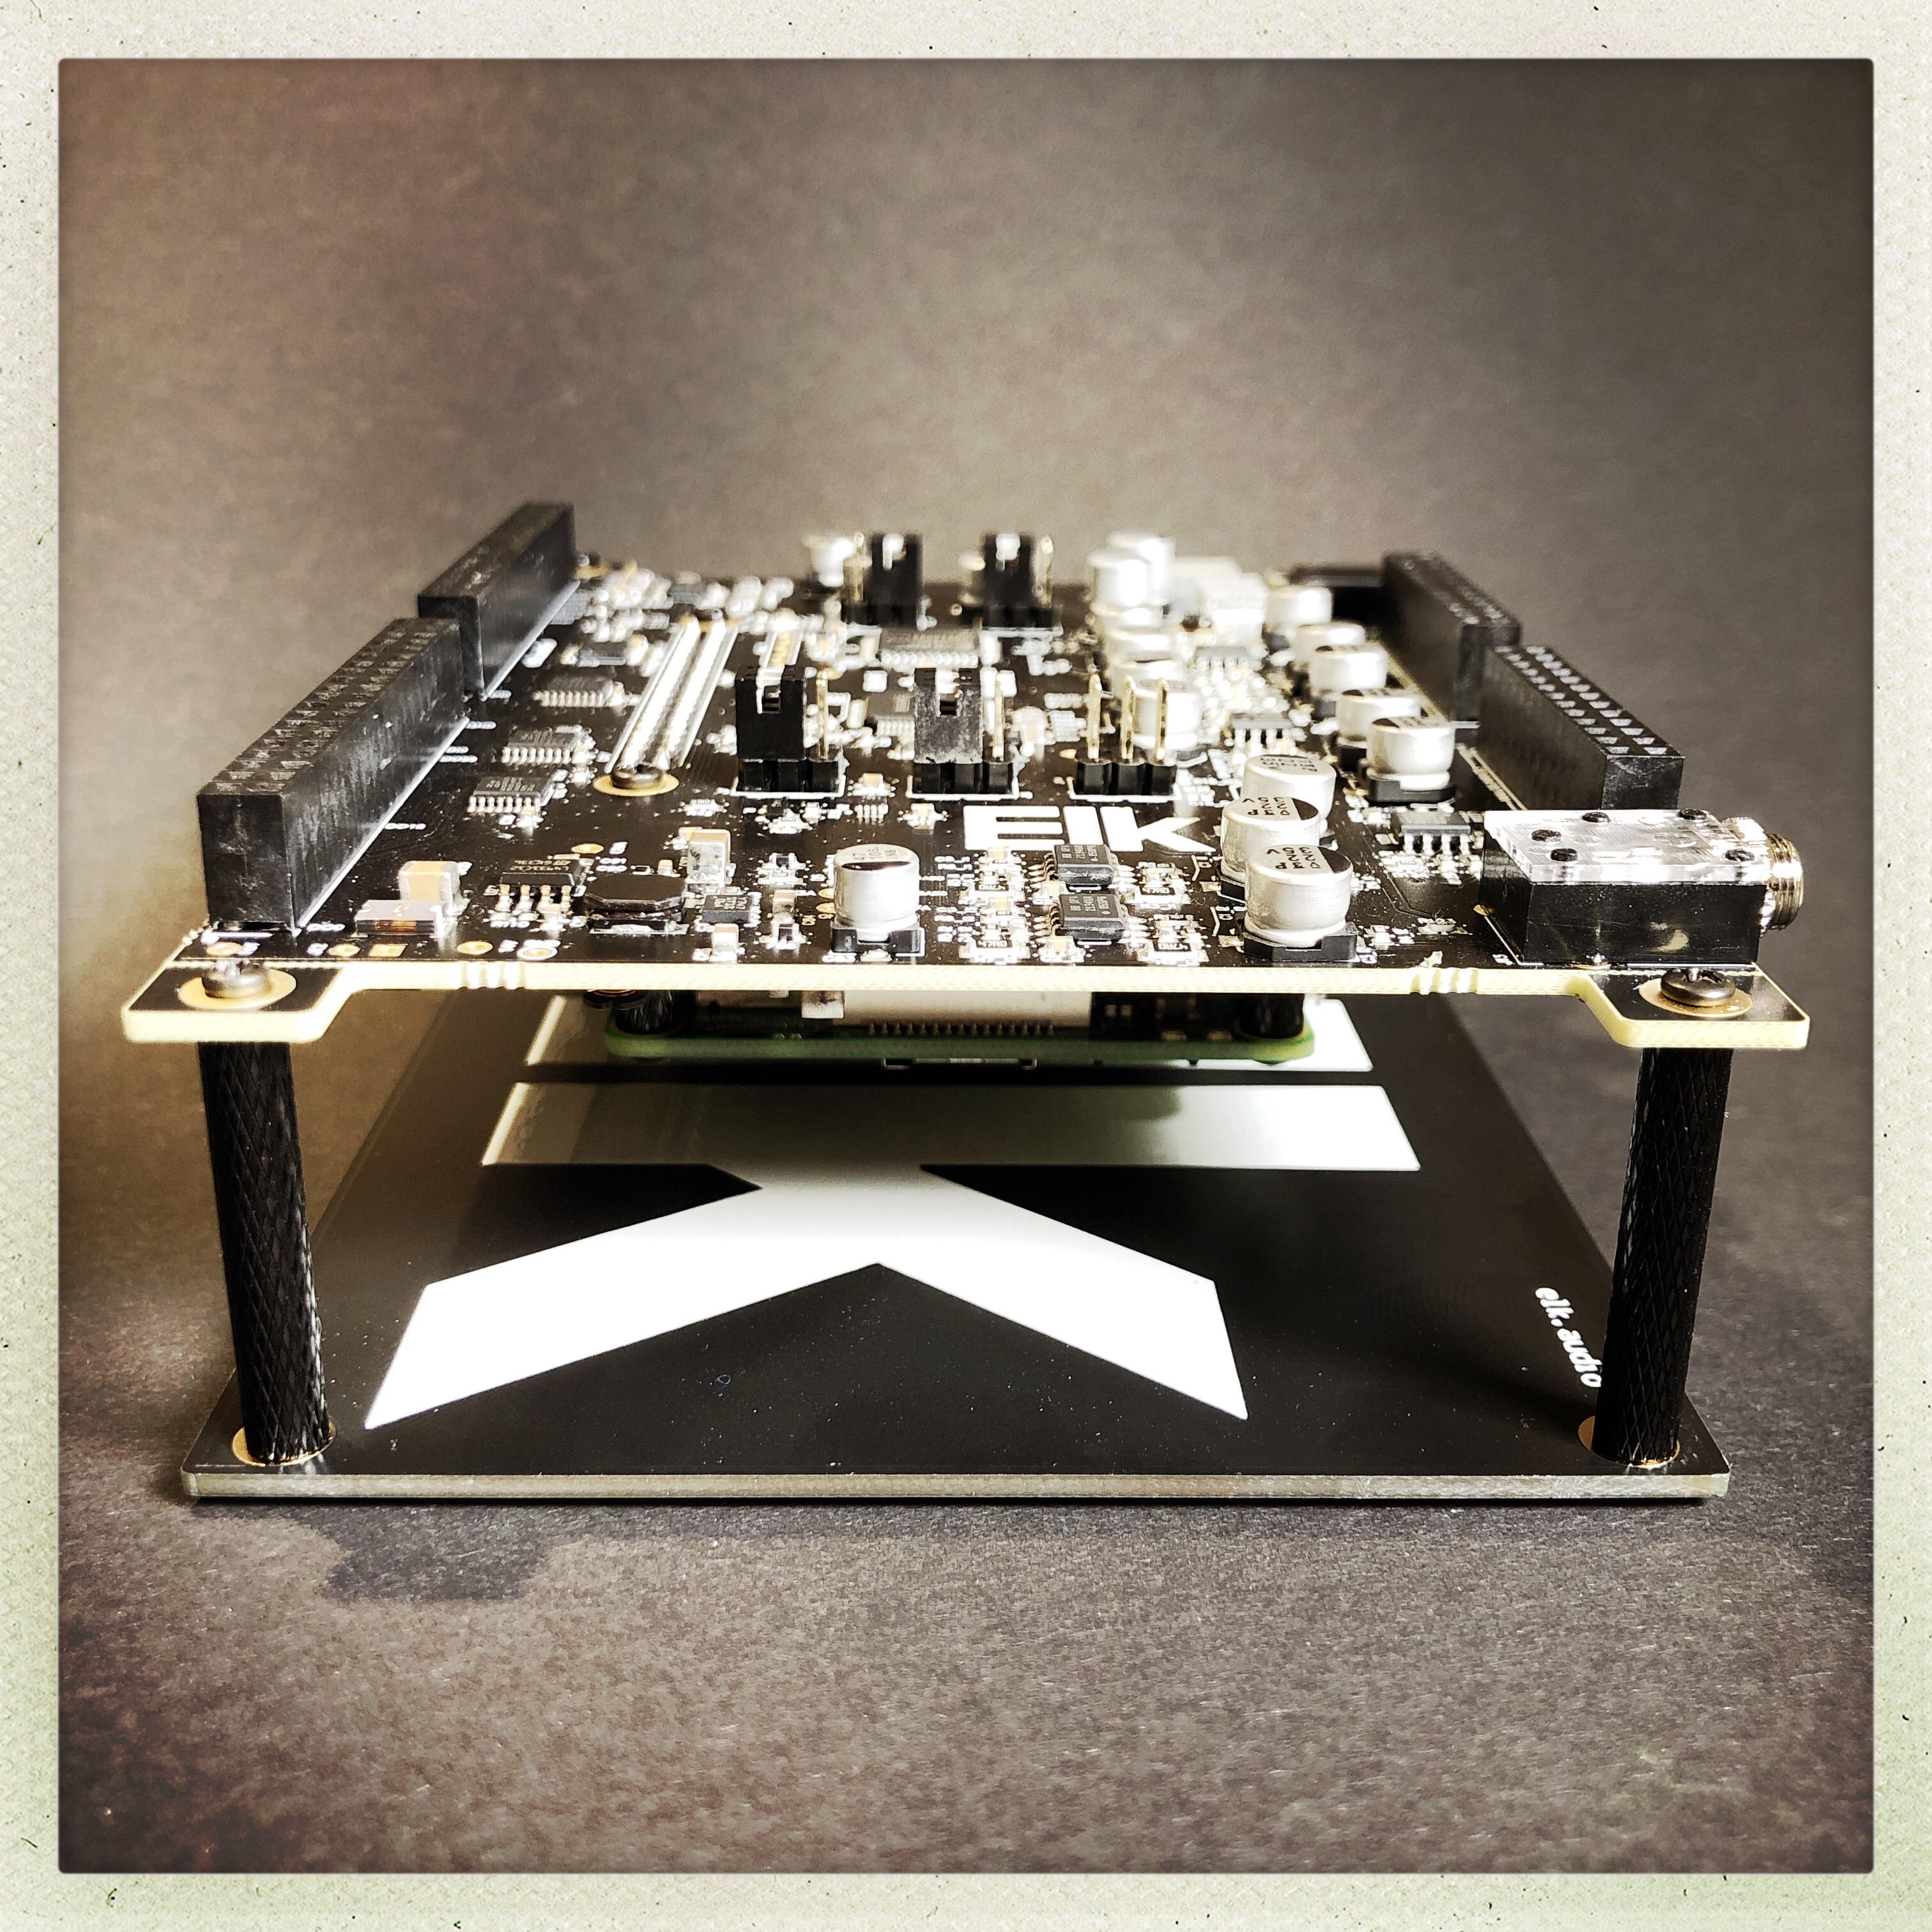
Finally, if you want you can add the optional bottom plate, using the included long spacers and screws. The final assembly then appears as follows: